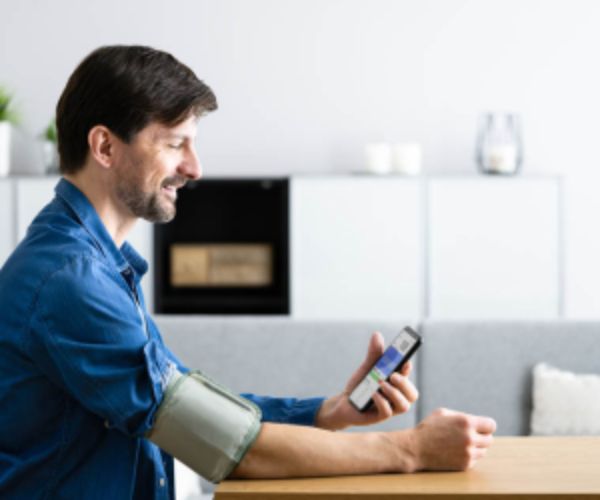
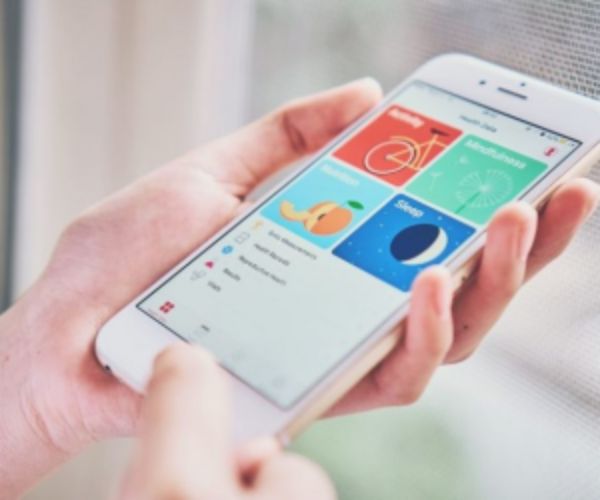
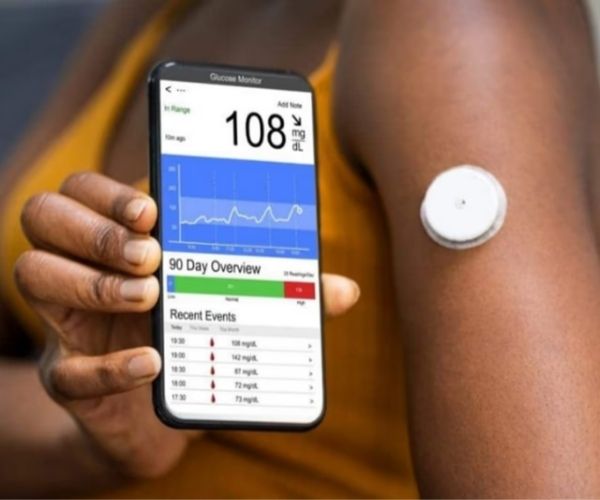
In modern times, continuous glucose monitoring and advanced therapies have offered new perspectives in the search for better ways to manage and monitor health conditions.
Along with technological advances, several innovative applications have been developed so that diabetic patients can better control their condition in a practical way.
And, in particular, the mySugr app has become a great ally in the daily lives of both patients and caregivers.
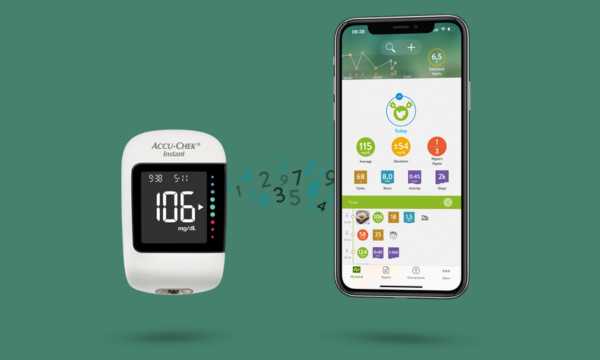
mySugr is an excellent digital tool that automatically records daily therapeutic data, such as meals, diet, carbohydrates, medications, blood glucose, and insulin.
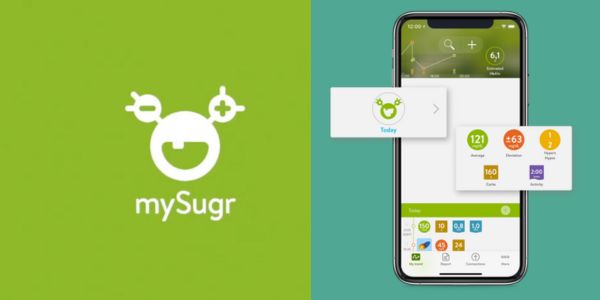
It also integrates information about physical activity, blood pressure, and other health data. It can be easily integrated with various Accu-Chek digital meter models.
It is worth noting that, before using any type of device or app, it is recommended to consult your doctor.
In this complete guide, we will discover how this innovative management platform can transform your view of diabetes, making the process simpler and more effective. Check it out below!
How to download the mySugr app
To download the app to your mobile device, follow the steps below:
- Open your phone’s app store (Google Play or App Store).
- Type “mySugr” in the search bar and click the magnifying glass.
- As soon as the search result appears, click on the app icon.
- Then tap the “Install” button (Android) or the “Get” button (iOS).
- Wait a few seconds while the app is downloaded and installed on your device.
- Done! The app is now ready to use.
How to access the app for the first time
After completing the download, open the mySugr app. On first access, you will need to create a new account or log in. Likewise, if you already have an Accu-Chek account, it is also possible to access it through that.
After completing registration, you must select your type of diabetes: type 1, type 2, LADA, MODY, gestational, or others. Soon after, other questions will be asked to offer a more personalized experience with the app.
Setting units and target ranges
To make the most of all the features mySugr offers, you need to make some adjustments so it can get to know you better. Does your meter show blood glucose in mg/dL or mmol/L? Do you count carbohydrates in grams or portions? Do you use insulin?
If so, do you use pens/syringes or an insulin pump? These basic questions will define the details of your therapy as well as specific target ranges.
To configure this data, click on “More” and then on “Account Settings”. At the top of the screen, select “Therapy”. Set up all the data according to your specific needs to have a better experience when using the app.
Start recording diabetes-related information.
You have already downloaded the app and logged in for the first time, so let’s start using this innovative tool! In general, the mySugr interface is very friendly and intuitive, which helps a lot, especially for those who do not understand much about technology.
On the main screen, at the bottom, you will find four sections: My Trends, Reports, Connections, and More.
To start recording your glucose data and other important information related to diabetes, click the “+” in the bottom right corner of the main screen. As soon as the recording screen opens, there will be a field for each item that can be recorded.
The date and time are set automatically, but they can also be changed to enter readings from earlier in the day or even from previous days.
After filling in all the necessary fields, click “Save”. Soon after, you will return to the home screen and the saved data will be visible.
Whenever you want to register new information, simply follow the same procedure mentioned above.
What can I record?
There are several treatment-related fields, such as: insulin doses, vital signs, nutrition, activities, notes, main measurements, etc. If you want to view all available fields, click “Show all fields”.
It is worth mentioning that there are several input options, which can be a bit confusing for the user. However, they are optional.
In addition, you can hide the fields that do not interest you or simply create a tag or note. You decide what is most convenient!
Setting reminders
The reminder is a great option to help you remember to do something after entering the data. It can be used, for example, to check your blood glucose after meals or to take your insulin dose at the end of a meal when it is low.
To set a reminder, slide the clock on the line until you reach the desired time. Soon, your alarm will ring and you will receive a notification.
How to share reports
The mySugr app allows you to share complete reports, with all the recorded data, with your doctor or whomever you want. Check out the step-by-step below:
- Open the mySugr app.
- Go to the “Report” section.
- Select the file format: CSV, PDF, or MS Excel (the last two are available only in the PRO version).
- Click on “Export“.
- Then, the report will be generated in the background and saved in the downloads folder. You can check the progress in your notifications.
- After completion, the following message will appear in the notifications: “Your report is ready.“.
- Now, you can choose to open or share it in the same notification.
- The report can be shared through WhatsApp, Gmail, among others.
Connecting blood glucose meters
If you have one of the blood glucose meters compatible with the app (Accu-Chek Guide, Accu-Chek Guide Me, or Accu-Chek Performa Connect) and want to sync it, click on Connections in the corresponding section, select your meter from the list. Then click on “Connect” and follow the instructions.
In the same section, it is also possible to import data from the Google Fit app.
Conclusion
Without a doubt, mySugr is more than just an app; it is an essential tool to simplify diabetes management in your daily routine. Now you have a digital tool to take control of your health.
In addition, it allows you to share detailed reports with your doctor and integrate with glucose meters. With mySugr, you are closer to achieving a healthier life, even while living with diabetes.
So, don’t wait any longer, start your diabetes monitoring journey with mySugr today!